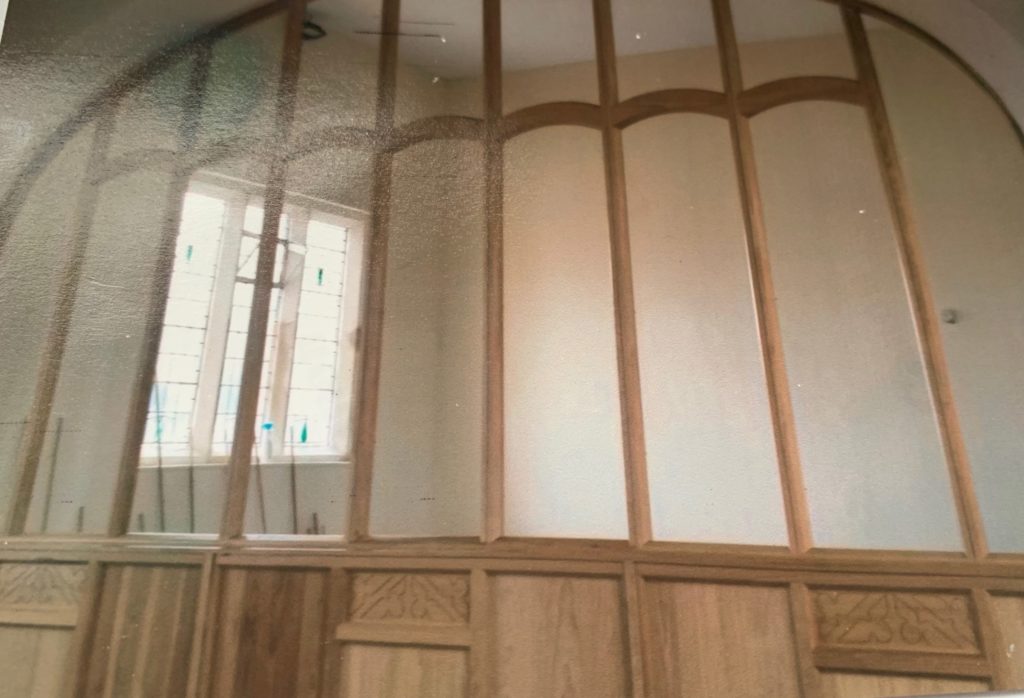
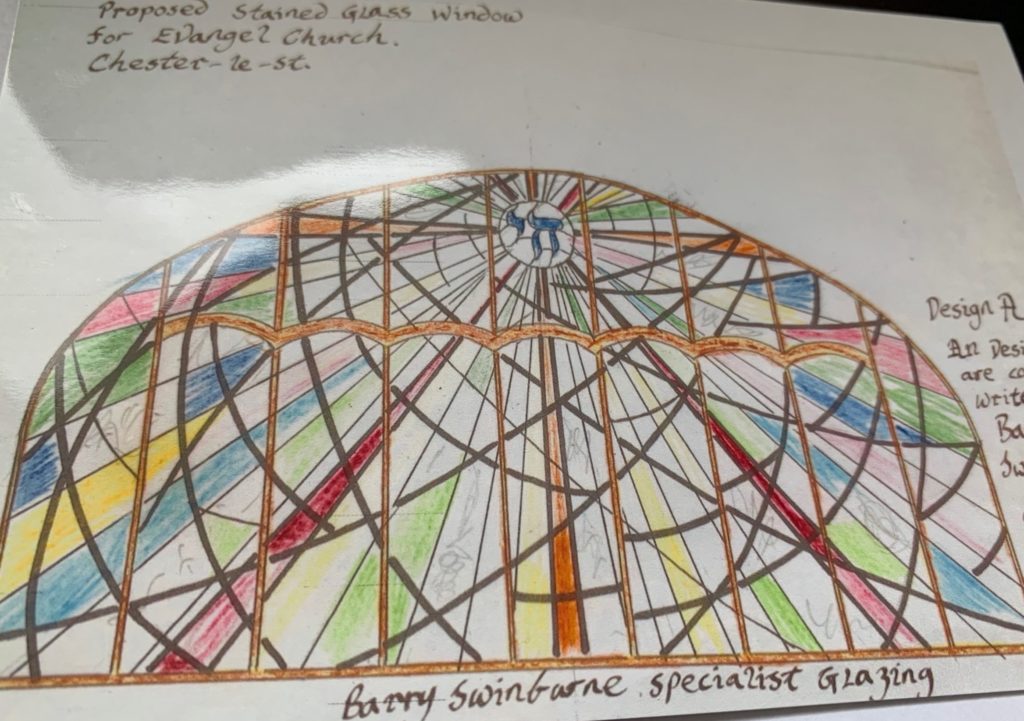
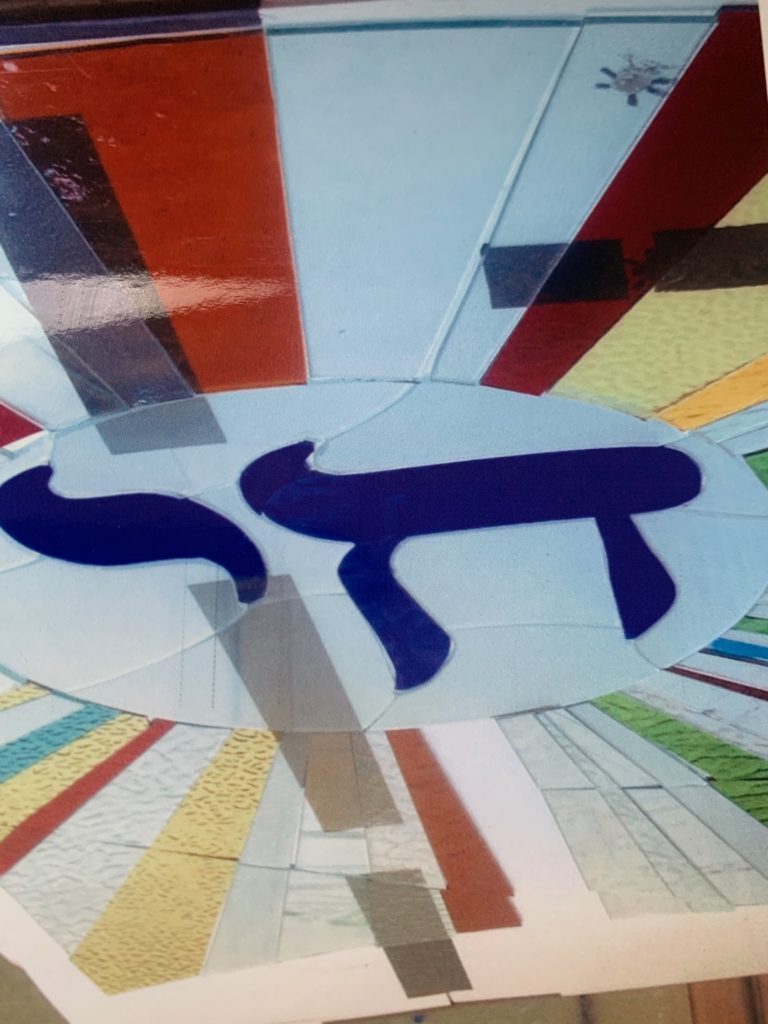
Here is the step-by-step process of the stained glass commission by Barry Swinburne
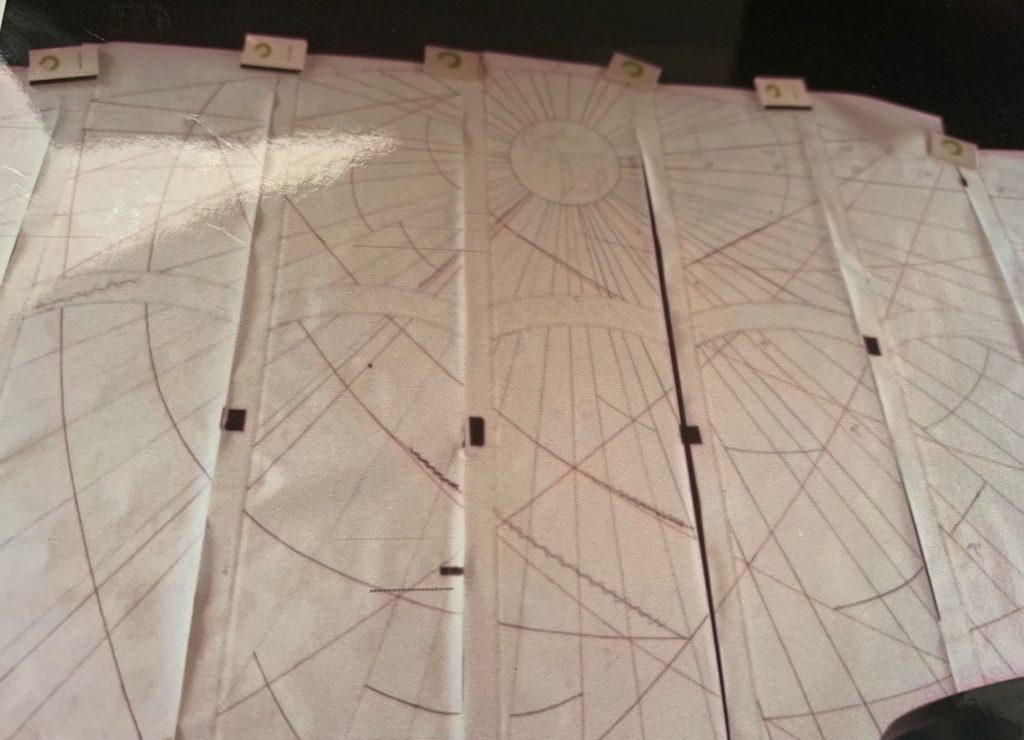
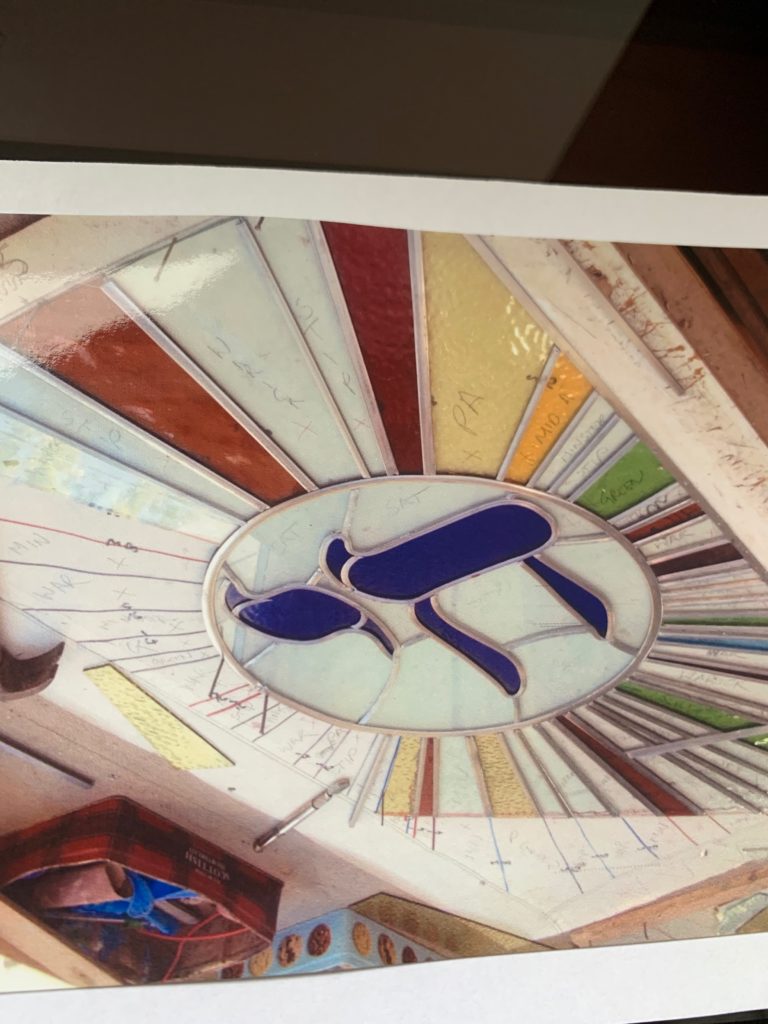
Design – Measurements and templates were taken to do a scale drawing The design was undertaken followed by full size working drawings.
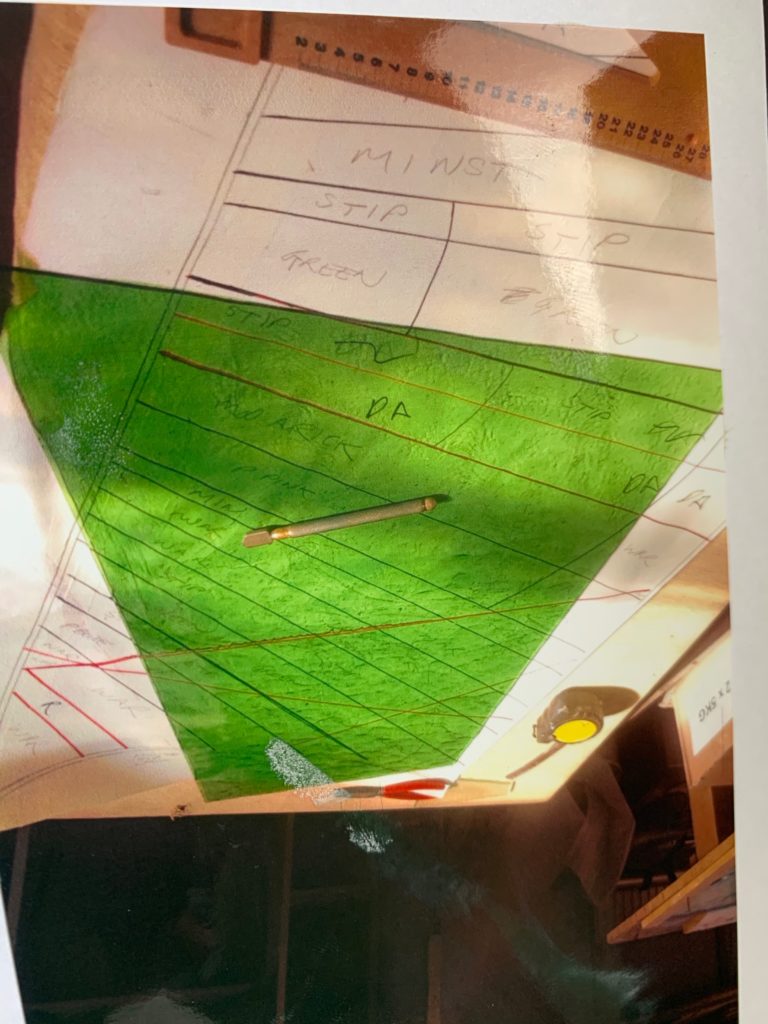
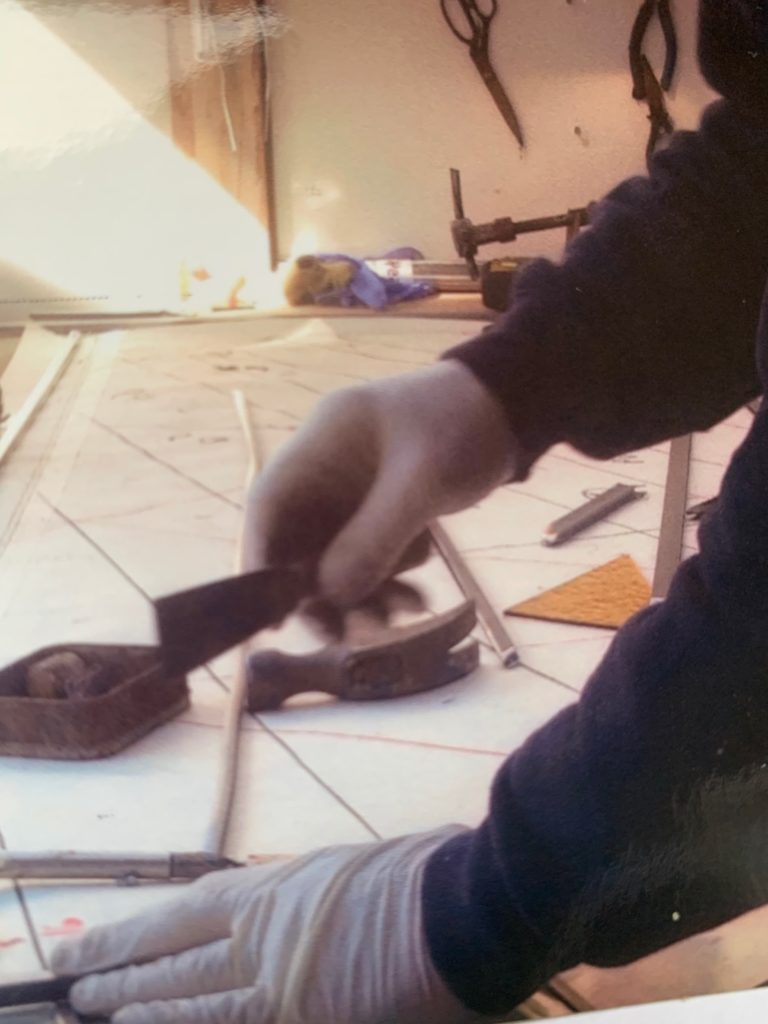
![](http://evangelchurch.org.uk/wp-content/uploads/2020/03/IMG_4193-scaled-e1584102525319-1024x698.jpeg)
![](http://evangelchurch.org.uk/wp-content/uploads/2020/03/IMG_4194-scaled-e1584102583315-1024x721.jpeg)
![](http://evangelchurch.org.uk/wp-content/uploads/2020/03/IMG_4195-scaled-e1584102807833-1024x740.jpeg)
Cutting and Leading
The coloured glass was selected and placed onto the drawing for cutting followed by the shaping of the lead around the glass ready to be soldered.
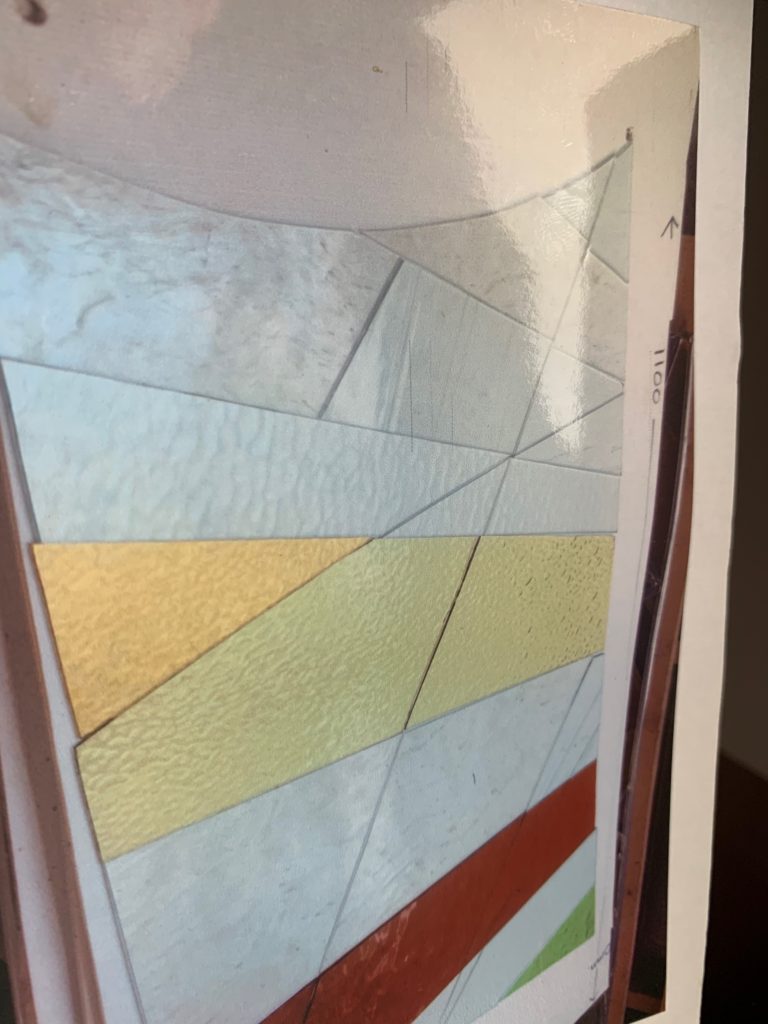
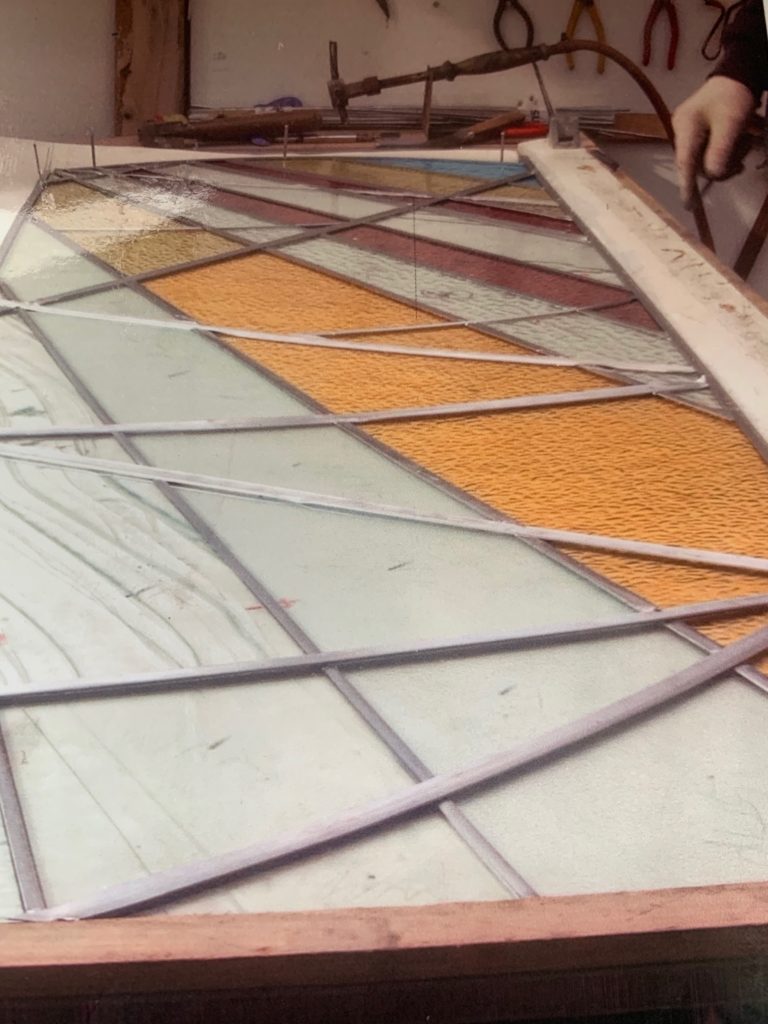
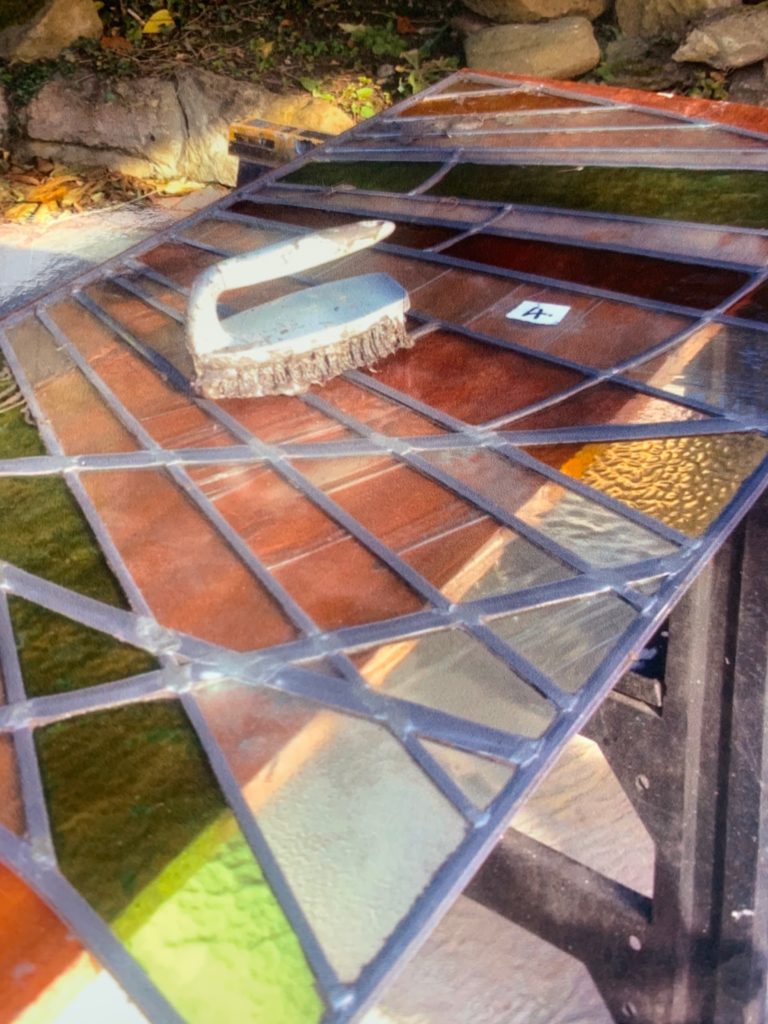
![](http://evangelchurch.org.uk/wp-content/uploads/2020/03/IMG_4196-768x1024.jpeg)
![](http://evangelchurch.org.uk/wp-content/uploads/2020/03/IMG_4197-768x1024.jpeg)
![](http://evangelchurch.org.uk/wp-content/uploads/2020/03/IMG_4201-768x1024.jpeg)
![](http://evangelchurch.org.uk/wp-content/uploads/2020/03/IMG_4203-768x1024.jpeg)
![](http://evangelchurch.org.uk/wp-content/uploads/2020/03/IMG_4204-768x1024.jpeg)
![](http://evangelchurch.org.uk/wp-content/uploads/2020/03/IMG_4205-768x1024.jpeg)
Cementing
Once the panels had been soldered and cleaned they were cemented to make water tight. The cement also helps to stiffen the panel and to darken the lead
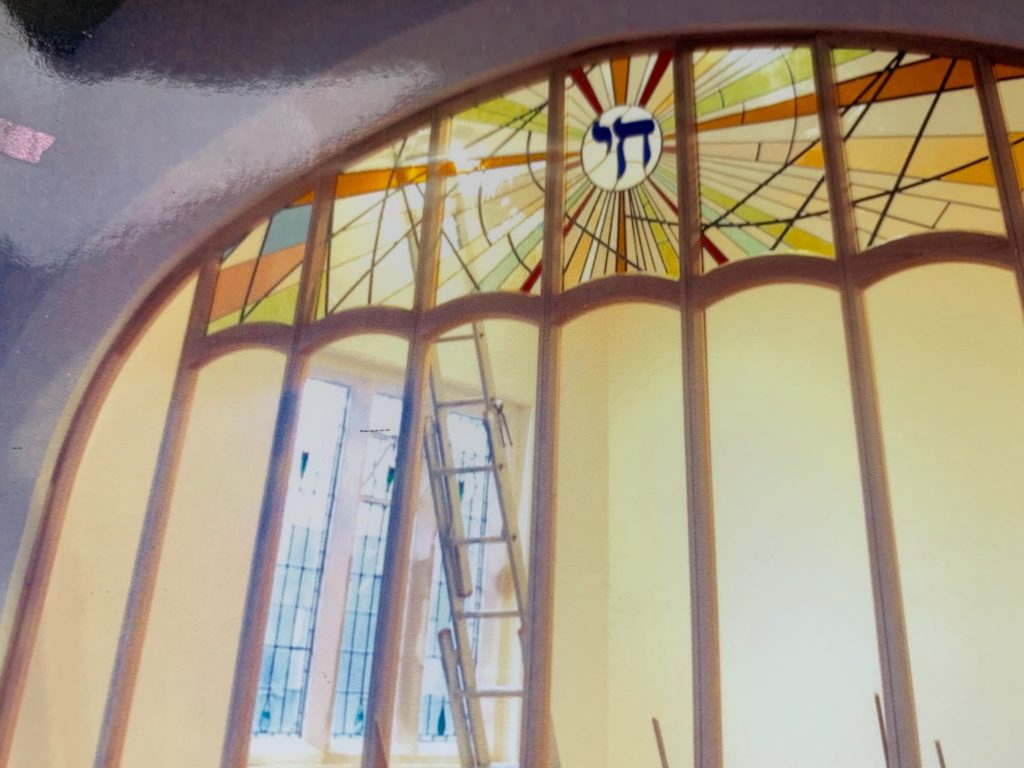
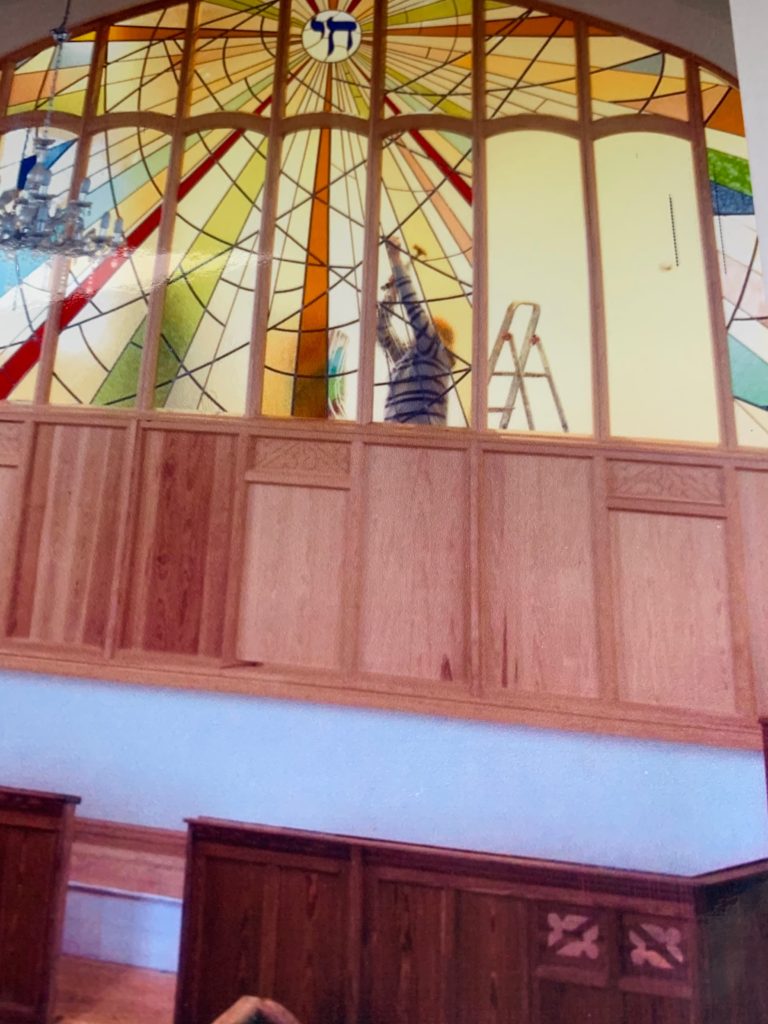
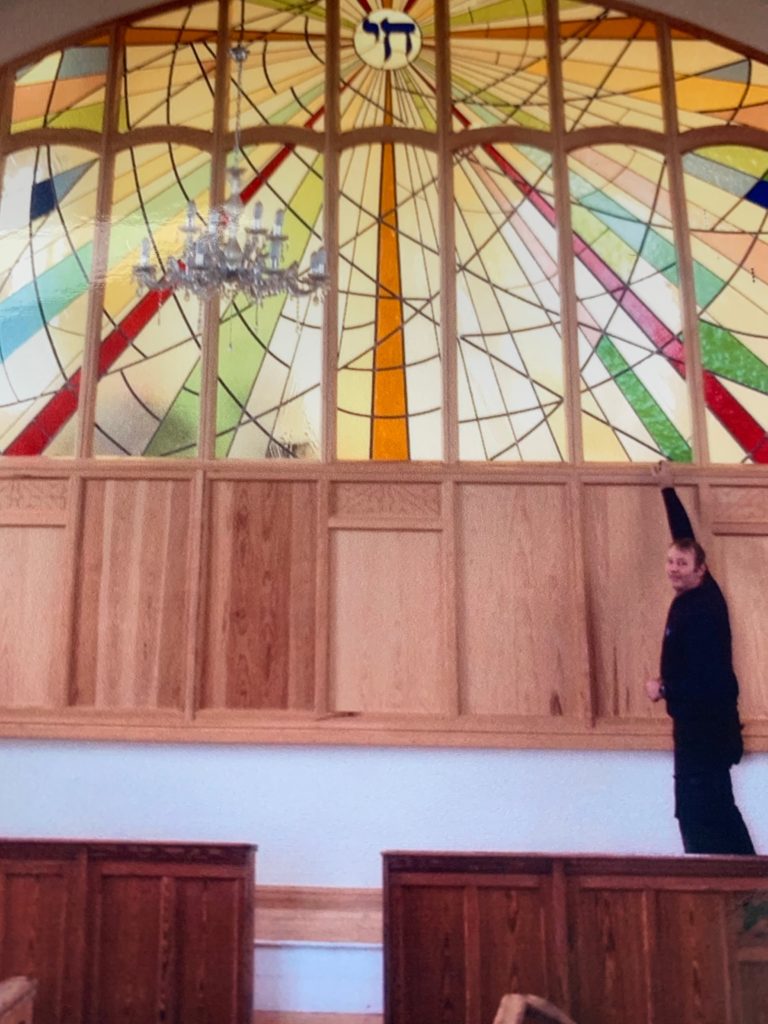
![](http://evangelchurch.org.uk/wp-content/uploads/2020/03/IMG_4208-768x1024.jpeg)
Installation
The panels were carefully lifted into the frame to correspond to the design and adjusted so the lead lines all ran through
![](http://evangelchurch.org.uk/wp-content/uploads/2020/03/IMG_4211-scaled-e1584103879217-1024x768.jpeg)
![](http://evangelchurch.org.uk/wp-content/uploads/2020/03/IMG_4212-768x1024.jpeg)
![](http://evangelchurch.org.uk/wp-content/uploads/2020/03/IMG_4216-768x1024.jpeg)